
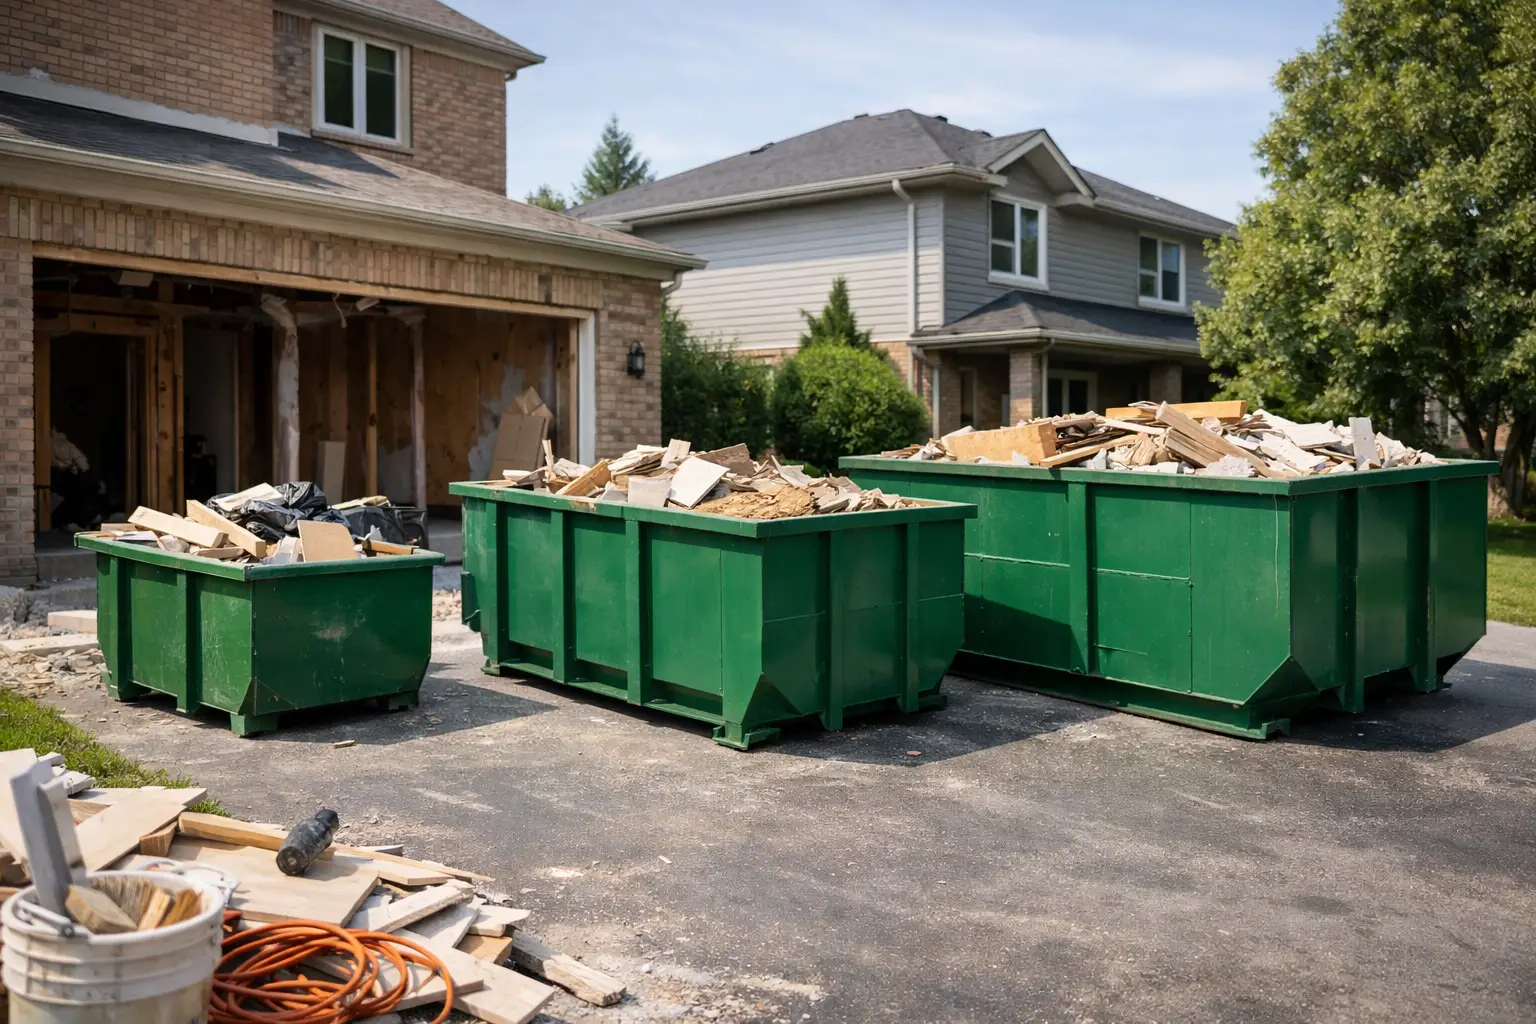
A kitchen tear-out can fill a garage faster than most homeowners expect. Old cabinets, flooring, drywall, packaging, and broken fixtures quickly turn a work area into an obstacle course. Booking a Stouffville renovation waste bin gives that material one place to go, so your project stays safer, cleaner, and easier to manage from day one.
The best bin is not simply the biggest one available. It needs to suit the amount of debris, the materials coming out of the space, and the room you have for delivery. A little planning before the bin arrives can prevent overloading, extra disposal charges, and delays when you are ready to move to the next stage of the renovation.
Start With the Renovation, Not the Bin
Think through what will actually leave the property. A bathroom update may produce drywall, tile, a vanity, old fixtures, and some lumber. A basement renovation can create a larger volume of framing offcuts, insulation, flooring, doors, and construction packaging. Demolition work creates heavy debris quickly, even when the room itself is small.
Volume and weight are different problems. Bulky materials such as carpet, cabinets, and wood can take up a lot of bin space without being especially heavy. Concrete, soil, brick, and asphalt are the opposite. They may fit in a smaller container but can exceed safe hauling limits if they are mixed into a general waste bin.
Before requesting a quote, make a simple mental inventory: what is being removed, how much of it is heavy material, and whether new materials will add packaging waste as the job continues. This is usually more useful than estimating by room size alone.
Choosing a Stouffville Renovation Waste Bin Size
For many smaller residential jobs, a 5-yard bin is a practical starting point. It works well for a single-room cleanout, a small bathroom refresh, yard debris, or a focused DIY project. It is compact, but it can still hold more than a few curbside garbage bags.
A mid-size bin is often the better fit for a kitchen renovation, basement cleanout, flooring removal across several rooms, or a larger landscaping project. These projects produce steady debris over several days, and having enough capacity means workers are not constantly rearranging material to make it fit.
For major interior renovations, extensive demolition, roofing-related cleanup, or construction work, a 20- or 25-yard bin may make more sense. The trade-off is footprint. Larger bins provide more room for debris, but they require a clear, accessible placement area and should be selected only when the volume justifies it.
When a project falls between sizes, consider how tightly the debris can be loaded. Broken-down cabinets and flattened cardboard take up far less room than full cabinets and unopened boxes. If you expect a mix of bulky material and ongoing waste, choosing slightly more capacity can be cheaper and less frustrating than arranging a second bin halfway through the job.
Do Not Fill Above the Rim
A bin should be loaded level with the top edge. Material sticking out above the rim can create a safety issue during transport and may need to be removed before pickup. Long pieces of lumber should be laid flat when possible, while lighter items can be used to fill open spaces around heavier debris.
This is another reason to avoid leaving cleanup until the last day. Loading as demolition happens keeps the site organized and gives you time to see whether the bin is filling faster than planned.
Separate Heavy Materials Before Delivery
A renovation site often has more than one waste stream. General mixed debris can include wood, drywall, cabinetry, household materials, carpet, and renovation packaging. Clean fill, concrete, and asphalt usually need their own container because they are handled differently from mixed renovation waste.
Keeping material separated is not just a disposal detail. It helps ensure the bin is safely loaded, avoids contamination issues, and lets the rental provider recommend the proper container from the start. If you are removing a concrete patio along with an old shed, for example, plan for the concrete separately rather than throwing everything into one mixed bin.
Ask about questionable items before loading them. Paint, chemicals, batteries, propane tanks, tires, electronics, and certain hazardous materials may have different disposal requirements. The same applies to appliances and mattresses in some cases. A quick question before delivery is easier than unloading a prohibited item later.
Plan Where the Bin Will Sit
Placement affects the whole project. You want the bin close enough to reduce carrying distance but far enough from the work zone that it does not block deliveries, parking, or access to the house. Most homeowners choose a driveway location because it is convenient and keeps the bin off the street.
Clear vehicles, basketball nets, low branches, and other obstacles before the delivery window. Make sure there is enough room for the truck to back in, place the bin, and leave safely. If you live on a narrow street or are considering street placement, check local requirements in advance. Rules can vary, and permits may be needed depending on the location.
Driveway protection should also be part of the conversation. A loaded roll-off bin places significant weight on the surface beneath it. Forever Green Bin Rental includes driveway protection with every rental, giving homeowners one less thing to worry about while debris is collected.
Match the Rental Timeline to the Work Schedule
Renovations rarely follow a perfect timeline. A contractor may find hidden water damage, a delivery can be delayed, or a homeowner may decide to remove more material once the walls are open. Still, it helps to schedule the bin for the point when demolition or removal will begin, not weeks before.
For a short, focused job, a brief rental period keeps the driveway clear once cleanup is finished. For a larger renovation, it may be worth keeping the bin on site through the stages that generate the most waste. That can include demolition, framing, drywall installation, and finishing work.
Be realistic about pickup timing. If the bin is being removed before the final cleanup, make sure loose debris is not left in a garage, side yard, or hallway. On the other hand, keeping a bin too long after the work is done can leave useful parking space unavailable. A local provider can help align delivery and pickup with the pace of the job.
A Better Loading Plan Saves Time
The quickest way to fill a bin poorly is to toss everything in from the top. Start with flat, dense pieces at the bottom. Break down cardboard, remove cabinet doors if practical, and stack lumber to limit empty pockets. Keep lighter debris for the upper spaces.
Avoid using the bin as a catch-all for materials that should be recycled, donated, or handled separately. Usable doors, fixtures, and cabinets may have a second life. Separating these items early can reduce what enters the bin and make the work area easier to organize.
For contractors, the same principle protects the schedule. A clear waste plan means crews spend less time walking debris around the site and more time on productive work. For homeowners, it means fewer landfill runs and far less clutter building up around the property.
Get a Quote With the Right Details
A useful bin rental quote starts with clear information. Share the project type, expected materials, approximate amount of debris, preferred placement area, and the dates you expect to need the bin. Photos can also help when access is tight or the scope is difficult to describe.
Do not guess that every renovation material can go into the same container. Explain whether you have clean fill, concrete, asphalt, or a mixed load. The right recommendation protects your budget and helps prevent a pickup-day surprise.
A renovation is easier to manage when waste removal is treated as part of the work plan rather than an afterthought. Choose a bin that fits the material, leave room for safe delivery, and load it with the final pickup in mind. Then the mess leaves the property as efficiently as it arrived.