A bathroom demo can fill a driveway faster than most people expect. By the time the old vanity, broken tile, drywall, and torn-out flooring are piled up, the real question becomes how to dispose renovation debris without wasting time, risking fines, or making a dozen dump runs.
The right approach depends on what you are removing, how much of it you have, and whether the material can be mixed together. Some debris can go in a general waste bin. Some needs a clean fill or heavy material bin. And some items should never be tossed in with regular renovation waste at all. Getting that part right early makes the whole cleanup easier.
How to dispose renovation debris without creating a bigger mess
Most renovation cleanup problems start with one bad assumption - that everything can go into one pile and be dealt with later. That usually leads to wasted labor, overloaded trucks, and materials that need to be sorted twice.
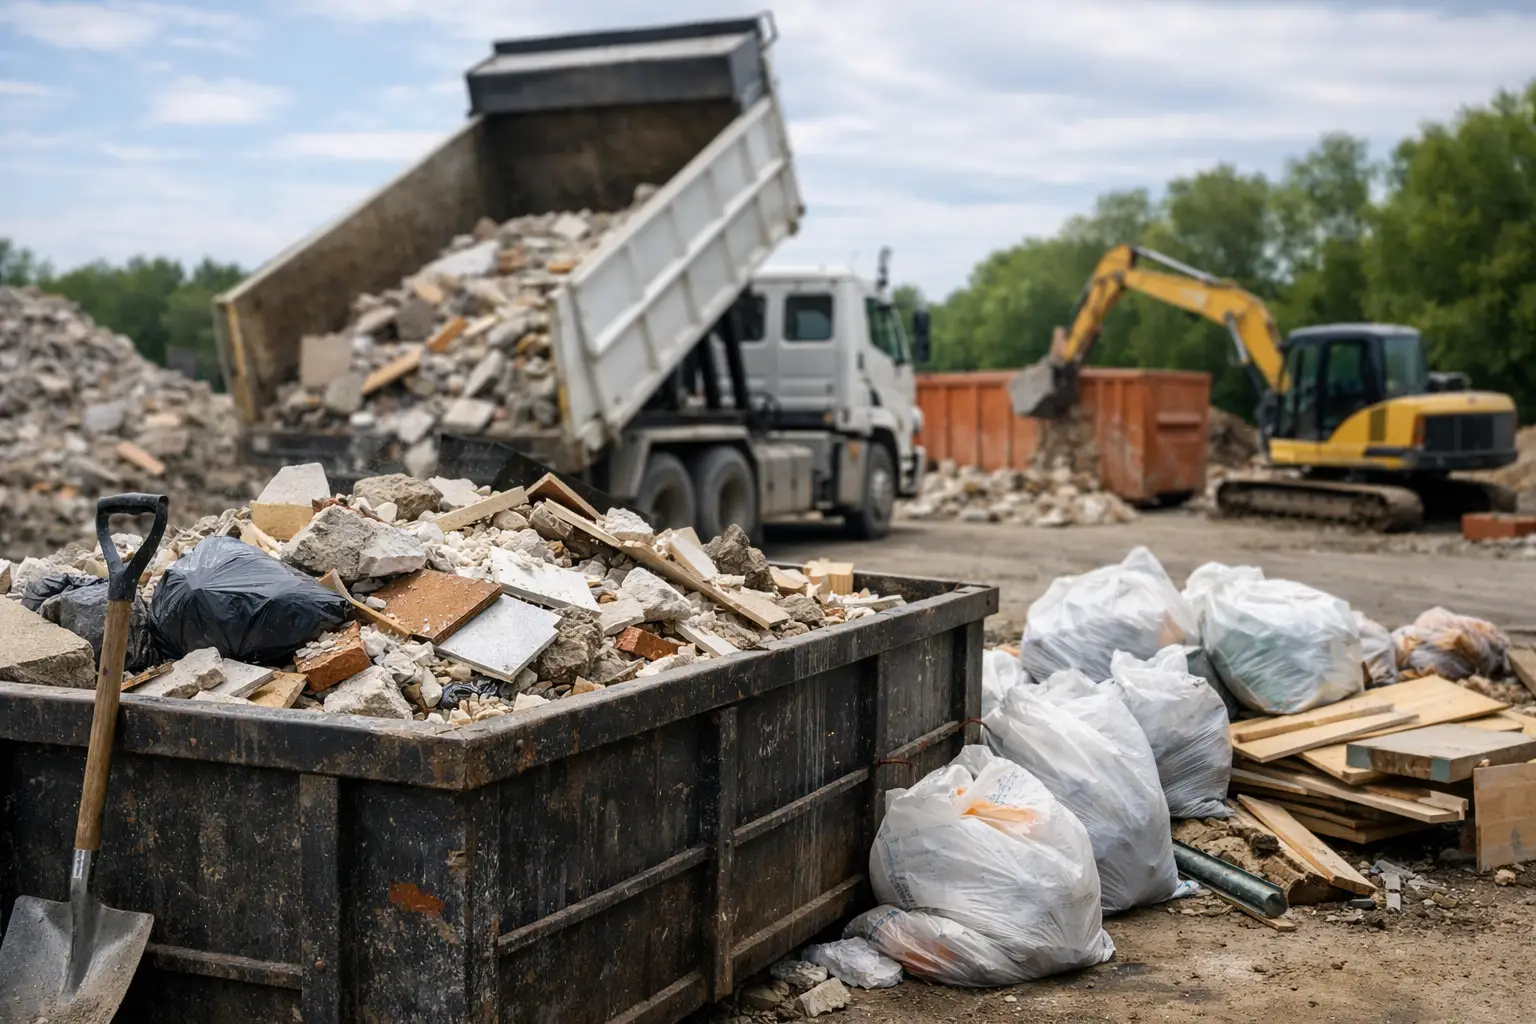
A better plan is to separate debris as you go. Wood, drywall, flooring, insulation, cabinetry, and packaging often work in a mixed renovation waste stream. Concrete, brick, soil, asphalt, and large amounts of stone are different because they are much heavier and may require a dedicated bin. If you are taking down a shed, breaking up a patio, or gutting a basement floor, weight matters just as much as volume.
There is also the issue of restricted materials. Paint, solvents, propane tanks, asbestos-containing materials, and certain electronics usually need special handling. Appliances may also need separate disposal depending on what they contain. If you are not sure about an item, check before loading it. One wrong material can delay pickup or add disposal charges.
Start by sorting debris by type
If you are doing a small DIY project, it is tempting to toss everything into contractor bags and deal with it at the end. That works for a minor room refresh, but not for a kitchen remodel, roofing tear-off, flooring replacement, or major demolition. Sorting upfront helps you choose the right container and avoid paying for the wrong waste stream.
General renovation debris usually includes materials like wood, trim, drywall, plaster, underlayment, non-hazardous fixtures, old cabinets, and packaging. These jobs often fit well in a mixed waste bin, especially when the debris is light to medium weight.
Heavy material debris needs more attention. Concrete, asphalt, bricks, patio stone, and fill can overload a standard container quickly. Even a small pile can weigh more than a full bin of drywall and trim. In those cases, a dedicated heavy debris bin is usually the safer and more cost-effective option.
Clean fill is its own category. If your project involves soil, clay, gravel, or similar material with no garbage mixed in, keeping it separate matters. Once general trash gets mixed into clean fill, disposal becomes more complicated and more expensive.
Choose a disposal method that matches the job
There is no single answer for how to dispose renovation debris because the right method changes with the scope of the project.
For very small jobs, hauling debris yourself may be enough. If you are replacing a vanity, removing a few doors, or clearing out one room, a pickup truck and a local disposal site might do the job. The trade-off is time. You may spend more on fuel, dump fees, and lost hours than you expect, especially if the site has material restrictions or limited access.
Bagged disposal can work for light debris, but it has limits. Drywall, tile, shingles, and plaster get heavy fast. Bags tear, stacks spread across the garage, and cleanup drags on longer than the renovation itself.
For medium to large projects, a roll-off bin is usually the simplest option. It keeps debris contained in one place, reduces handling, and allows the crew or homeowner to load as the work happens. That is especially helpful when you are managing a tight timeline, trying to keep a driveway clear, or working on a property with neighbors close by.
If you are renovating in places like Newmarket, Aurora, or Bradford, local bin service can also save you from the usual scheduling headaches. Fast delivery and pickup matter when trades are lined up and the next phase of work cannot start until the debris is gone.
Pick the right bin size before debris starts piling up
Bin size is one of the most common mistakes on renovation jobs. Too small, and you need a second haul or extra pickup. Too large, and you may pay for capacity you never use. The best size depends on both the amount of debris and the type of material.
A small bin often works for a single-room cleanout, light demolition, or a modest DIY update. A medium bin is more realistic for kitchen renovations, basement finishing, larger flooring projects, or deck removal. Large bins are better for full-home renovations, construction debris, and major demolition.
Heavy materials change the math. You may have plenty of room left in the container, but still hit the weight limit. That is why concrete, soil, and asphalt are usually handled differently from mixed renovation debris. If you are unsure, it is always better to describe the project clearly before booking rather than guessing based on size alone.
What not to throw in with renovation debris
This is where homeowners and contractors often run into avoidable problems. Not every jobsite item belongs in a standard renovation bin.
Hazardous waste is the biggest issue. Paint cans with liquid paint, stains, chemicals, adhesives, fuels, and solvents usually require separate disposal. The same goes for propane cylinders, batteries, and certain automotive fluids from garage projects.
Electronics and appliances can also be restricted. A microwave or small appliance may seem harmless, but disposal rules vary depending on the item. Refrigerators, freezers, and air conditioners need even more caution because of regulated components.
There are also materials that need special treatment because of safety concerns. If you suspect asbestos in old insulation, flooring, ceiling texture, or pipe wrap, stop and get proper guidance before demolition continues. The same goes for mold-heavy material or anything contaminated by sewage or fire damage.
Keep the cleanup safe and efficient
Disposal is not only about where the debris ends up. It is also about how you handle it on site.
Keep a clear loading path from the work area to the bin. That reduces trips, saves labor, and lowers the chance of injury. Break down bulky items when possible, but do not create dust or risk exposure from questionable materials. Spread weight evenly in the container instead of piling everything on one side.
Do not overfill the bin. Materials sticking above the top edge can create safety issues during transport and may require unloading before pickup. This happens a lot with wood, trim, and long demolition pieces because they look light but take up awkward space.
Property protection matters too. A properly placed bin helps prevent damage to driveways, lawns, and tight access areas. That is one reason many homeowners prefer working with a local company that understands residential placement and practical jobsite limits. Forever Green Bin Rental, for example, includes driveway protection because cleanup should not create a second repair project.
When a contractor and a homeowner need different disposal plans
Homeowners usually care most about convenience, speed, and keeping the property tidy. Contractors often care about timing, material separation, and avoiding delays between trades. The debris itself may be similar, but the disposal plan should reflect how the job is being managed.
If you are a homeowner doing weekend work, a flexible rental window can make more sense than rushing to finish in one day. If you are a contractor running multiple crews, quick swap-outs or the right material-specific bin can keep the site moving.
That is why the best answer to how to dispose renovation debris is usually not the cheapest option on paper. It is the option that keeps the project organized, avoids extra handling, and fits the actual waste stream.
A clean renovation site helps everything else run better. When debris is sorted properly, loaded safely, and removed on time, the project feels more manageable from start to finish. If you plan disposal with the same care as the renovation itself, the cleanup stops being a headache and becomes one less thing to worry about.