
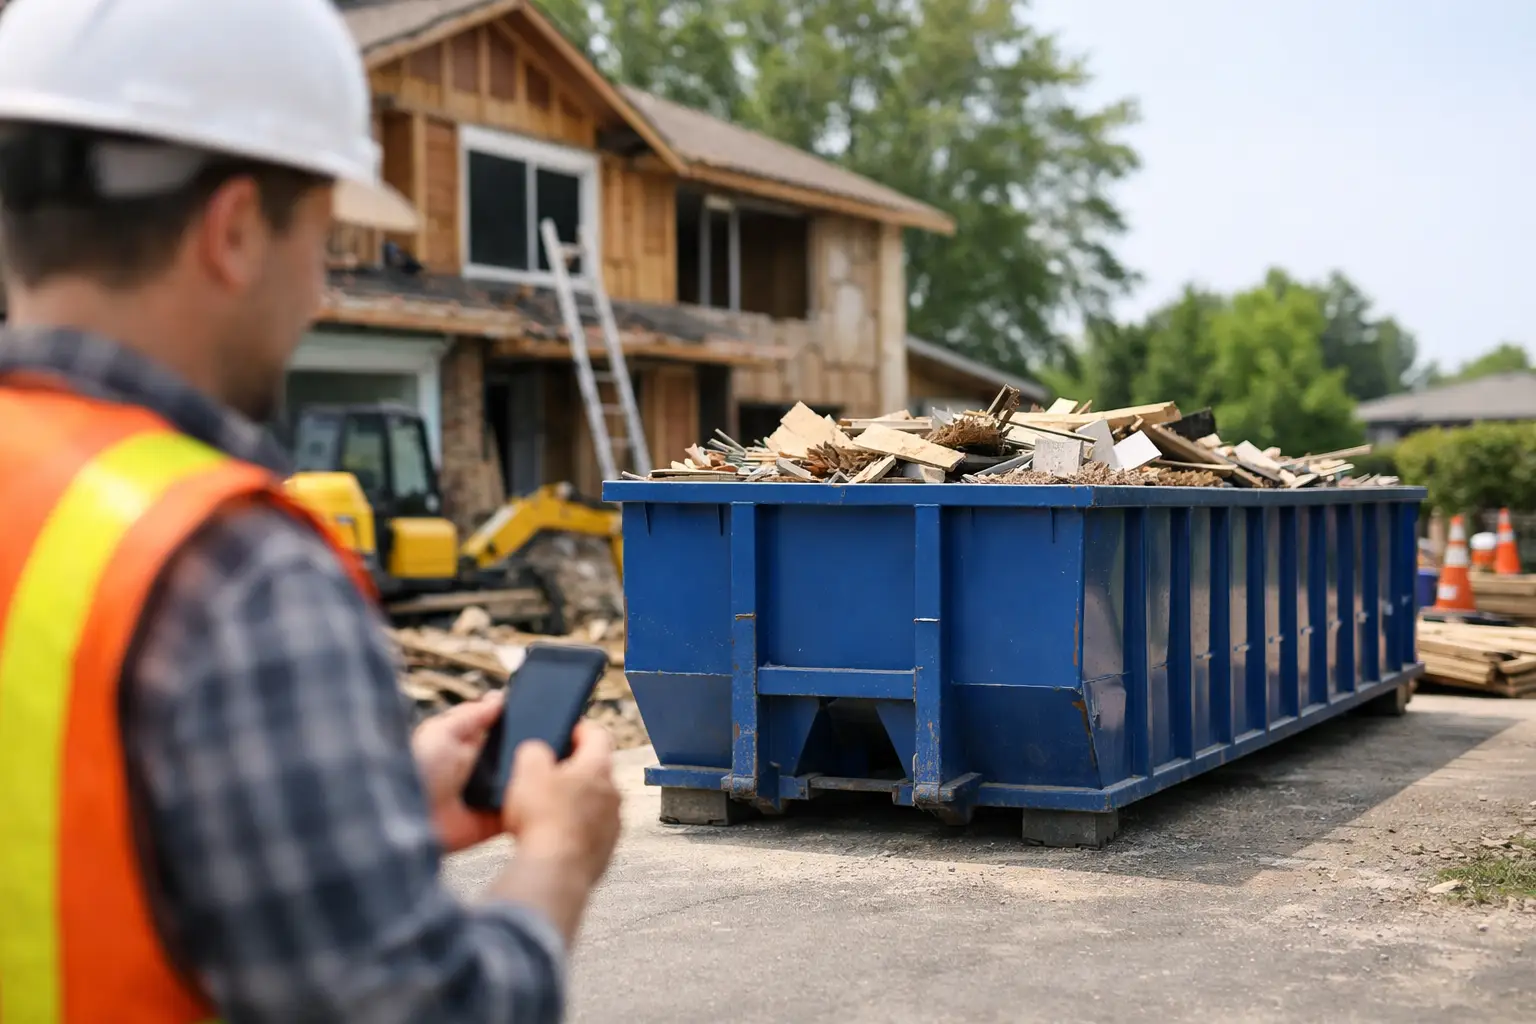
A garage cleanout can turn into a driveway full of bags in one afternoon. A renovation can create piles of drywall, lumber, flooring, and old fixtures before the first day is over. Knowing how to book a bin rental before debris starts building up keeps the project safer, cleaner, and moving forward.
The booking itself is straightforward. The key is sharing the right details upfront: what you are throwing away, how much material you expect, where the bin will sit, and when you need it. A clear quote and a properly matched bin prevent the two problems nobody wants - a container that is too small or a pickup delayed by prohibited material.
Start With the Job, Not the Bin
Before choosing a size, take a practical look at the project. Are you emptying one room, clearing out an entire property, replacing a deck, remodeling a kitchen, or managing debris from an active job site? The answer affects both the container size and the waste stream you need.
Walk through the space and identify the large items first. Old cabinets, couches, carpet rolls, fencing, drywall, and lumber take up more room than most people expect. Then consider the smaller material that will fill gaps in the bin, such as boxes, bagged household waste, insulation, and trim.
It also helps to think about timing. A weekend cleanout may only require a short rental period, while a renovation or construction project may need the bin on site through several stages of work. Booking around your demolition, delivery, or contractor schedule means debris has a place to go when it is created.
Estimate Volume Honestly
Bin sizes are measured in cubic yards, which can feel abstract when you are standing in a basement or backyard. A 5-yard bin is often a sensible fit for a small room cleanout, minor DIY work, or a limited amount of household debris. Larger projects, including major renovations, roofing work, demolition, or construction cleanup, may call for a 14-, 20-, or 25-yard bin.
When you are between sizes, the larger option is often the safer choice for bulky material. Ordering a second bin can cost more time and create an avoidable interruption. That said, bigger is not always better. A very large bin is not the right choice for dense materials such as concrete, asphalt, or clean fill because weight limits matter as much as volume.
Choose the Right Bin Rental for Your Material
The material going into the container is one of the first questions to answer when you book. General waste and mixed renovation debris are handled differently from clean fill, concrete, or asphalt. Separating material correctly helps keep disposal costs predictable and supports proper processing after pickup.
For a household cleanout, general waste may include furniture, toys, clothing, boxes, non-hazardous household items, and light construction debris. A mixed-material bin is useful when a renovation produces a combination of drywall, wood, flooring, packaging, and other accepted materials.
Clean fill bins are intended for uncontaminated soil, dirt, or similar material. Concrete and asphalt bins are for heavy, dense debris that should not be mixed with general waste. If you are removing an old patio, driveway section, or foundation material, tell the rental provider early. A bin that is appropriate for broken concrete is often different from the one you would use for a kitchen demolition.
Do not assume every item can go into a rental bin. Hazardous waste, chemicals, paint, fuels, propane tanks, batteries, and certain electronics typically require separate disposal. Mattresses, tires, appliances, and other special items may also have additional handling requirements depending on the provider and local disposal rules. When in doubt, ask before loading it. A quick question during booking is much easier than sorting a loaded bin later.
Have the Details Ready for a Fast Quote
A good quote is based on the real job, not a guess. When requesting a bin rental, be ready to describe the type of debris, the approximate amount, your preferred bin size if you have one, and the expected rental dates. Photos can be helpful for unusual loads, large cleanouts, or heavy material.
You should also confirm the delivery address and the best contact person for drop-off and pickup. If the property is in a busy area of York Region or South Simcoe, mention any access issues that could affect the truck. Narrow driveways, parked vehicles, low branches, gates, overhead wires, and steep grades are all worth discussing before delivery day.
Transparent, quote-driven booking is especially helpful when the project has variables. A homeowner may discover more material behind finished basement walls. A contractor may need to adjust a pickup because demolition is running a day behind. Clear communication gives you a better chance of getting a practical solution without unnecessary back-and-forth.
Plan Where the Bin Will Go
Most residential bins are placed in a driveway, provided there is enough room for the truck to safely deliver and retrieve the container. Measure the available space if you are unsure, and move vehicles before the scheduled arrival time. The driver needs room to maneuver, not just enough space for the bin itself.
Tell the provider exactly where you want the container placed. If you need to keep one vehicle accessible, leave a pathway. If you are working near a garage or job-site entrance, think about how workers will carry debris to the bin. A short walk saves time, but the bin should never block safe access, sightlines, or emergency routes.
Driveway protection should be part of the plan, especially on newer asphalt, decorative concrete, or interlocking surfaces. Forever Green Bin Rental includes driveway protection with every rental, helping reduce direct contact between the bin and the surface below. Even with protection in place, point out any areas of concern before delivery, such as soft pavement, a sloped driveway, or recently completed landscaping.
If a driveway is not an option and you need the bin on a street, check local municipal requirements first. Permit rules vary by location, and arranging this in advance avoids a last-minute delivery issue.
Load the Bin Safely and Keep Pickup Simple
Once the bin arrives, load heavy material evenly across the bottom rather than creating one concentrated pile. Break down boxes, stack flat materials where practical, and place bulky items carefully to use the space efficiently. Do not pack debris above the top edge of the container. Overfilled bins can be unsafe to transport and may need to be leveled before pickup.
Keep the waste stream clean as you work. If you ordered a concrete bin, do not toss household junk or wood into it because it is convenient. If you booked a general waste bin, keep out the items that require separate disposal. A little sorting during the project protects the quoted price and prevents delays when the bin is collected.
For busy renovation sites, designate one person to make the final call on what goes in the bin. This is a simple way to prevent a subcontractor, tenant, or well-meaning neighbor from adding prohibited material after hours.
Schedule Pickup Around the Real Finish Line
Do not wait until the bin is overflowing to think about pickup. Contact the rental provider when the project is wrapping up or when you know the container will be ready. Make sure the area around the bin is clear and that no vehicles, materials, or equipment block access for the truck.
Projects do change. Weather can delay exterior work, a demolition phase can uncover more debris, or a cleanout can finish earlier than expected. Let the provider know as soon as your schedule changes. Local service is most useful when communication is direct and early enough to adjust delivery, exchange, or pickup plans.
A bin rental should take one major task off your plate, not create another one. Share accurate project details, choose the right material category, protect the placement area, and keep the container accessible. With those basics handled, you can spend less time thinking about waste and more time getting the work done.