
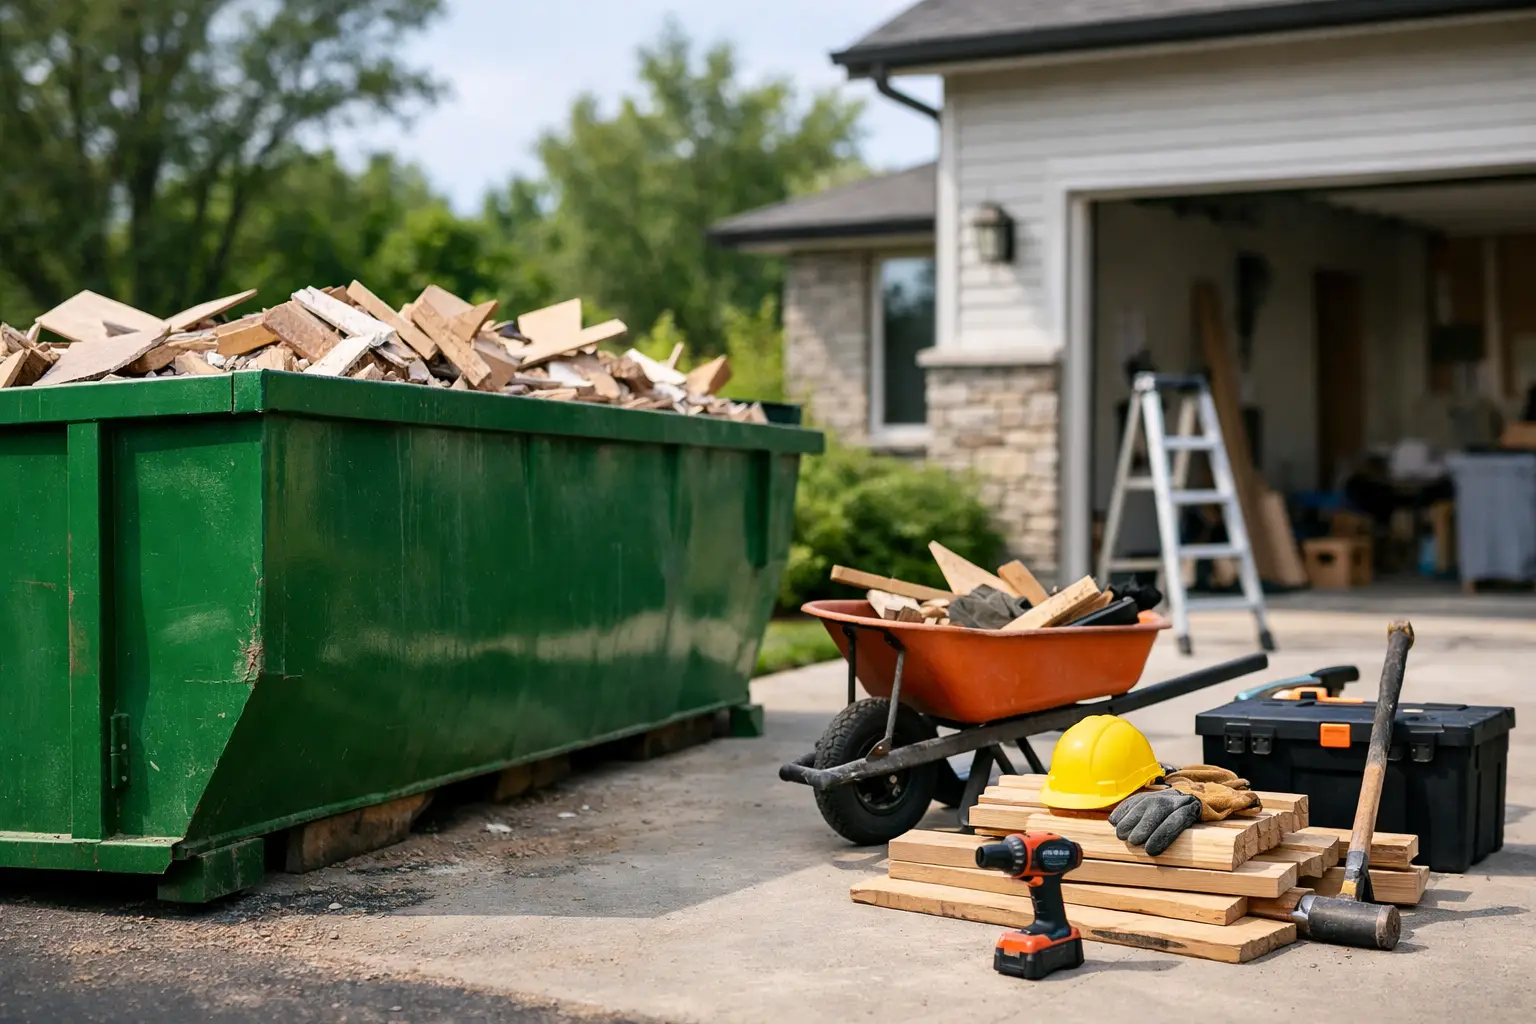
A bathroom tear-out can fill a pickup truck faster than most homeowners expect. Old drywall, flooring, fixtures, boxes, and trim create a pile that quickly takes over the driveway or garage. Garbage bin rental for DIY projects gives that material one place to go, so you can keep working instead of planning another landfill run.
For homeowners handling a room cleanout, basement finish, deck removal, or kitchen update, the right bin is less about getting the biggest container available and more about matching the bin to the job. A little planning before delivery can save space, prevent disposal issues, and make cleanup one of the easiest parts of the project.
When a DIY Project Needs a Garbage Bin Rental
A few bags of packaging and a broken shelf may fit in regular curbside collection. Once you start removing built-in materials, flooring, cabinets, insulation, or landscaping debris, regular pickup is usually no longer practical. Municipal collection limits, bag limits, and material restrictions can turn a one-weekend project into weeks of clutter.
A rental bin makes the most sense when debris is bulky, heavy, or generated faster than you can haul it away. It is particularly useful for projects where the work area needs to stay clear, such as a renovation in an occupied home. Rather than stacking debris in a garage and moving it twice, you carry it directly to the bin.
It also helps when you are working on a tight schedule. Contractors and DIY homeowners alike lose time when the cleanup plan is an afterthought. A bin delivered before demolition begins keeps the site safer and gives every piece of waste a destination.
Choose the Right Bin Size Before You Start
Bin size is the decision that affects both cost and convenience. Renting too small can mean arranging a second bin or making difficult choices about what stays behind. Renting far more capacity than the project needs can be unnecessary. The best fit depends on the type of material, not just the room size.
A 5-yard bin is often a practical choice for small DIY jobs, including a single-room cleanout, a modest bathroom refresh, or removing carpet from a limited area. It is also a good option when driveway space is limited and the project is producing mainly household debris.
Medium and larger bins are better suited to kitchen renovations, basement work, deck removal, garage cleanouts, and multi-room flooring projects. A 20- or 25-yard bin can make sense for major renovations, demolition work, or construction debris, especially when lightweight materials such as wood framing, drywall, insulation, and packaging are filling up quickly.
Heavy materials change the calculation. Concrete, asphalt, soil, brick, and clean fill take up less physical space than general construction waste, but their weight adds up fast. These materials are commonly handled in dedicated bins with specific loading limits. If your project includes a patio tear-out, driveway repair, or landscaping excavation, tell the rental provider exactly what you are disposing of before booking.
Think in Materials, Not Just Square Footage
A 200-square-foot flooring project can produce a very different amount of waste depending on whether you are removing carpet, laminate, tile, or hardwood. Carpet and underpad are bulky. Tile, mortar, and old fixtures are dense and heavy. A kitchen renovation may look modest on paper, but old cabinets, countertops, drywall, and appliance packaging can fill a bin quickly.
When requesting a quote, describe the project plainly: what is coming out, how many rooms are involved, and whether you expect heavy materials. This gives you a more useful recommendation than simply asking for a bin “for a renovation.”
Sort Materials Before They Reach the Bin
Not every cleanup bin accepts every item. Proper sorting helps avoid extra handling, keeps disposal costs predictable, and supports responsible waste processing. General waste and mixed construction debris can often be placed together when approved, but clean fill, concrete, and asphalt may require separate containers.
Before the project begins, set aside materials that need special handling. Common examples include:
- Paint, solvents, oils, fuel, and other hazardous products
- Propane tanks, batteries, tires, and electronics
- Refrigerators, air conditioners, and other appliances with refrigerants
- Soil, concrete, brick, or asphalt that should go in a dedicated heavy-material bin
Rules can vary by disposal facility, so do not assume an item is acceptable because it fits in the bin. A quick conversation before delivery is much easier than discovering a prohibited item after the bin has been loaded.
There is also a practical benefit to separating clean materials. If you are removing only concrete from an old walkway, a concrete-only bin may be the better choice. If you are clearing a shed filled with household items, wood, and general junk, a mixed-material bin may be more appropriate. Matching the waste stream to the container keeps the process straightforward.
Plan a Safe, Accessible Placement Area
Where the bin sits matters almost as much as what goes into it. A driveway is often the most convenient location because it is close to the work area and accessible for delivery and pickup. Measure the area beforehand and make sure vehicles can move around it if needed.
Clear the placement area of cars, trailers, basketball nets, and other obstacles before delivery. Look overhead as well. Low branches and utility lines can complicate safe placement. If you live on a narrow street or need the bin placed somewhere other than private property, check local requirements before scheduling.
Driveway protection should be part of the plan, especially with heavy loads. Forever Green Bin Rental includes driveway protection with every rental, helping reduce direct contact between the bin and your driveway surface. That is a practical detail for homeowners who need serious cleanup capacity without treating their property like a construction site.
Load the Bin for Space and Safety
Start with flat, heavy items on the bottom whenever possible. Break down cardboard boxes, remove doors from cabinets, and cut long pieces of lumber if they can be safely reduced. These simple steps prevent large, awkward items from creating empty pockets of unusable space.
Keep debris below the top edge of the bin. Overfilled bins can be unsafe to transport and may need to be leveled before pickup. Do not place materials beside the bin with the expectation that they will be collected unless that arrangement has been confirmed in advance.
If you are working over several days, make a habit of loading waste at the end of each work session. A clear work area reduces tripping hazards, keeps materials out of the weather, and makes it easier to see what remains to be done.
Schedule Around Your Actual Work Timeline
DIY projects often take longer than planned. A simple fixture swap can reveal damaged subflooring, outdated wiring, or a wall that needs repair before it can be closed. That does not mean you should automatically book the longest rental period available, but it does mean you should be realistic about the timeline.
Schedule delivery shortly before demolition or cleanup starts, not weeks ahead of time. This keeps your driveway available until you are ready and limits the chance that neighbors or passersby see an open bin as an invitation to add their own waste. Once the project is nearly complete, arrange pickup promptly so your property can return to normal.
For weekend projects, confirm delivery and pickup timing early. Local service makes a difference when the job changes, you fill the bin sooner than expected, or you need guidance on a material that was not part of the original plan.
Get More Value From the Rental
The lowest advertised price is not always the lowest total cost. Ask what is included in the quote, what materials are accepted, how long the rental lasts, and what happens if the load contains restricted items or exceeds applicable weight limits. Clear answers at the start prevent unpleasant surprises later.
It is also worth thinking about labor. Multiple landfill trips use fuel, take time, require a suitable vehicle, and can leave debris sitting around while you wait for the next trip. For a project with more than a truckload of material, a bin often turns disposal into a one-step routine: remove it, load it, and keep moving.
A good cleanup plan lets you focus on the part of the project you actually want to finish. Put the bin in the right place, choose a size that matches the material, and load as you go. When the last piece of debris is gone, the finished space is easier to enjoy because the cleanup did not become a separate project of its own.