
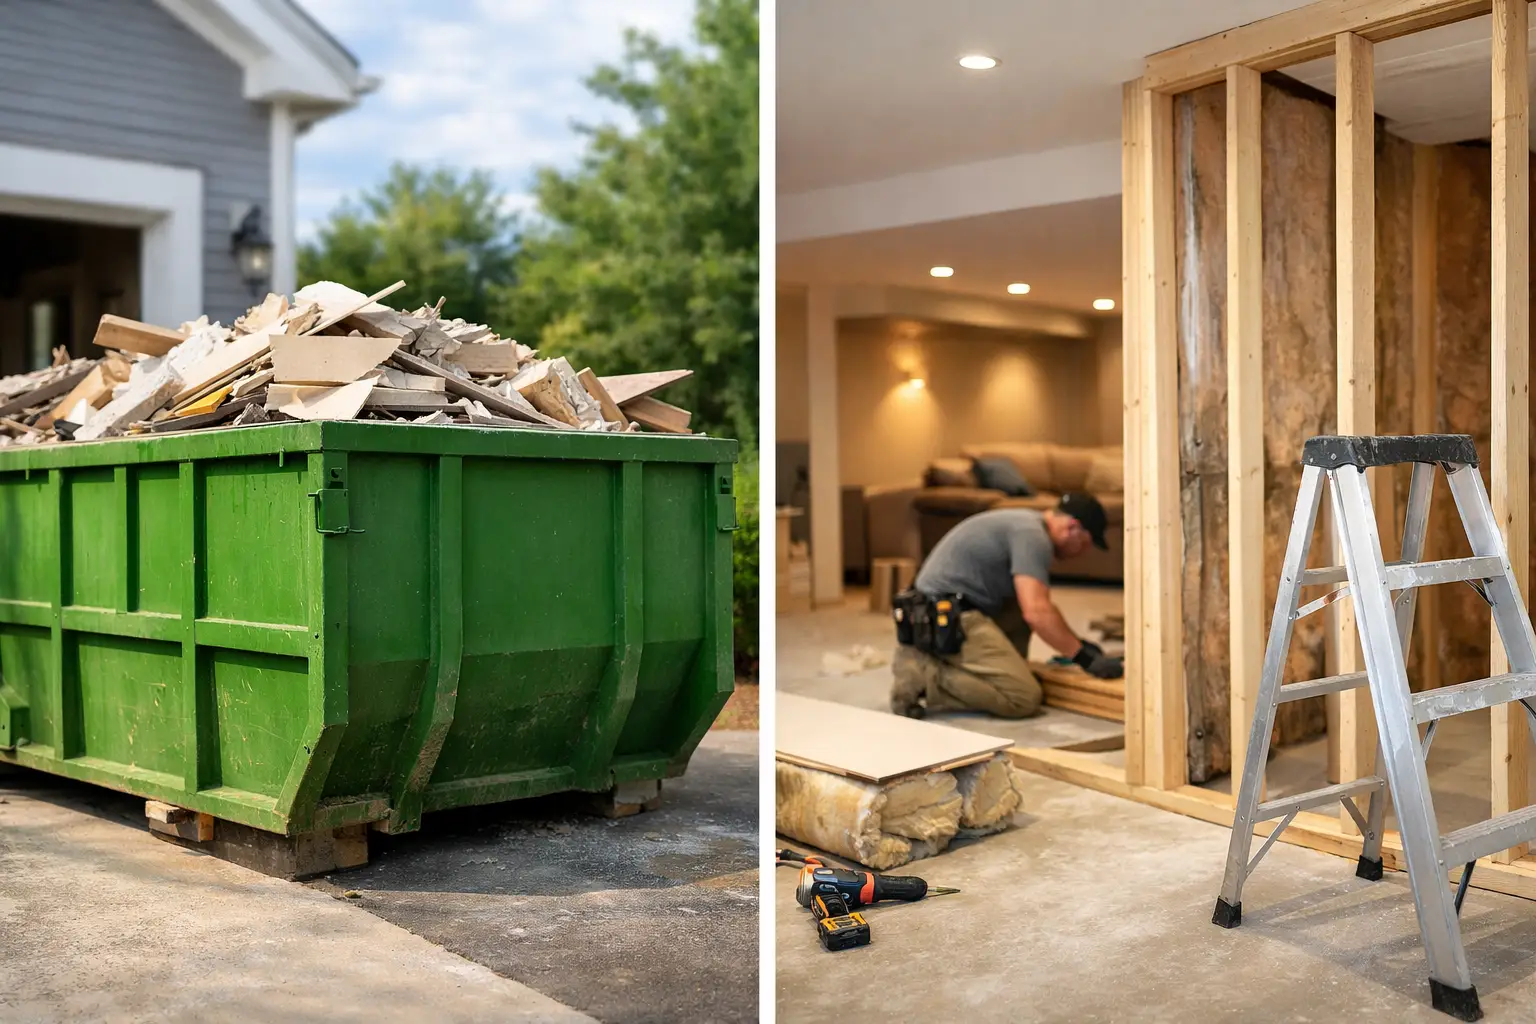
A basement project can create more debris than most homeowners expect. Framing lumber, drywall cutoffs, old carpet, insulation packaging, flooring boxes, and demolished fixtures pile up quickly in a space with limited access. To choose a bin for basement finishing, start with the work being done, the materials coming out, and how much room you have for delivery.
The right bin keeps cleanup from slowing down your renovation. The wrong one can mean an overflowing container, extra disposal charges, or a bin that takes up more driveway space than you planned for. A little planning before delivery makes the job easier for you, your crew, and your waste provider.
How to Choose a Bin for Basement Finishing
Most basement finishing projects need a general waste bin, but size depends on whether you are simply building out an unfinished space or tearing out an old basement first. A new finish with framing, drywall, and flooring creates steady but relatively light debris. A full renovation that includes demolition of paneling, ceilings, carpet, cabinets, bathrooms, or old insulation can create much more volume in the first few days.
Think about the project in phases. Demolition usually produces bulky material quickly. Framing and drywall create regular piles of offcuts and packaging. Flooring, trim, and final fixture installation generate less waste, but it still needs somewhere to go. If demolition is part of the scope, size the bin for that early rush rather than the quieter finishing stage.
A 5-yard bin can work well for a small basement room, a storage-room cleanout, or a project with only limited drywall and lumber waste. It is also a practical choice when driveway space is tight or when you expect to load debris gradually.
A 10-yard or 14-yard bin is often the better fit for a typical basement finishing project. These sizes give homeowners and renovators room for drywall, framing lumber, carpet, underlayment, boxes, and old fixtures without taking up the footprint of a large construction container.
For a full basement gut, a major renovation with a bathroom, or a contractor managing several trades at once, a 20-yard or 25-yard bin may make more sense. Larger bins reduce the chance of needing a second container during demolition, but only if the material is not unusually heavy and the driveway can accommodate the placement.
Match the Bin to the Material, Not Just the Room
“Basement waste” is not one material category. What goes into the bin affects which container you need and how it is handled after pickup. A general waste or mixed-material bin is commonly used for the everyday debris from basement finishing, including lumber, drywall, carpet, laminate flooring, non-hazardous household items, and packaging.
Heavy materials change the equation. Concrete from a broken basement slab, old tile, brick, stone, or asphalt should not be mixed casually into a bin intended for light renovation debris. Dense materials add weight fast and may require a dedicated concrete or clean fill bin. If you are removing a small concrete pad, old masonry partition, or tile bed, tell the rental company before booking.
The same applies to materials that cannot go into a standard renovation bin. Paint, solvents, propane tanks, batteries, chemicals, fuel containers, asbestos-containing materials, and certain electronics need separate disposal arrangements. Do not wait until loading day to identify these items. A quick review of what is being removed helps avoid a delayed pickup or unexpected sorting work.
Drywall deserves special attention. In many areas, drywall disposal has specific requirements, especially if it is being removed from an older home. Keep it dry when possible, avoid mixing it with questionable materials, and ask your provider how it should be loaded. Clear information upfront is always better than guessing once the bin is on your driveway.
Estimate Volume Without Overthinking It
Homeowners often underestimate volume because debris looks manageable while it is still spread across the basement. Once it is stacked in bags, broken down, and carried upstairs, the pile grows quickly. Drywall is especially deceptive: a few demolished walls can fill a surprising amount of container space.
Use your renovation scope as a practical guide. If you are finishing an open basement with new framing and drywall, picture the amount of material delivered to the job, then account for cutoffs, damaged pieces, cartons, wrapping, and old items being cleared out at the same time. If you are removing a dropped ceiling, carpet, wood paneling, or a dated bathroom, add extra space for bulky demolition debris.
Do not select a smaller bin solely because it has a lower initial price. A container that fills before the demolition phase is complete can cost more once a swap or second rental is needed. On the other hand, a large bin is not automatically the best value for a small project. The goal is enough capacity for the busiest stage of work without paying for unused space.
When you request a quote, describe the basement size, whether demolition is involved, and the main materials being removed. Photos can also help a local bin provider recommend a size based on real job conditions rather than a rough guess.
Plan for Basement Access and Driveway Placement
A bin may sit outside, but basement access affects how efficiently you can fill it. If the only route is a narrow stairwell, every bag and board has to travel through the house. That makes it more important to place the bin as close as safely possible to the exit point.
Before delivery, clear vehicles, basketball nets, trailers, and loose items from the driveway. Measure for gates, low branches, overhead wires, and parked cars that could limit access. Let the provider know if your driveway is narrow, steep, curved, or shared with a neighbor.
Driveway protection should also be part of the conversation. A loaded bin can be heavy, particularly when it contains wet drywall, old flooring, or dense construction waste. Forever Green Bin Rental includes driveway protection with every rental, helping homeowners keep their property in mind while making room for the project cleanup.
Keep the loading area organized once the bin arrives. Break down boxes, stack lumber safely, and distribute material across the container instead of building one tall pile at the front. Nothing should extend over the top edge. Overfilled bins can create transport issues and may need to be reloaded before pickup.
Choose the Right Rental Timing
Book the bin to arrive before demolition starts, not after debris has already taken over the basement and garage. For most basement projects, delivery the day before work begins or first thing in the morning gives your crew a clean place to put waste from the start.
Consider how your schedule may shift. Drywall work can be delayed by inspections, electrical work, plumbing changes, or material deliveries. If you are working weekends or coordinating multiple trades, ask about the rental period and how to arrange pickup or an extension if the project runs longer than expected.
It also helps to avoid using the bin as long-term storage. Load waste as it is created, but keep usable materials, donations, and items you plan to sell separate. A clean loading plan prevents good materials from being tossed out just because the renovation feels rushed.
A Quick Booking Checklist
Before confirming your bin, make sure you can answer these questions:
- Is this a finish-only project, or does it include demolition?
- What materials will make up most of the debris?
- Are there concrete, tile, masonry, or other heavy materials?
- Where can the bin be placed without blocking access or damaging the property?
- When will the largest amount of debris be created?
A basement finish should make your home more useful, not turn your driveway into a cleanup problem. Choose a container based on your actual materials, demolition scope, and access conditions, then give yourself a little extra room for the waste nobody sees coming until the work begins.